How to run Great Expectations on EMR
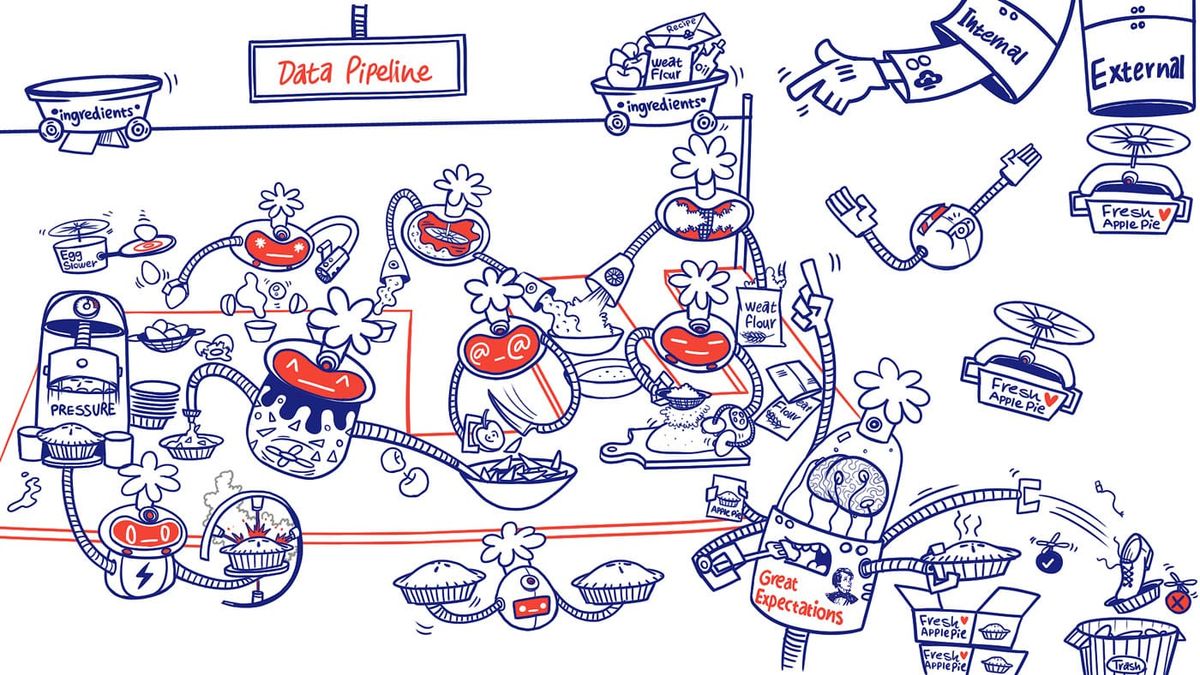
What is Great Expectations Great Expectations is a great tool to validate the quality of your data and can be configured against a number of data sources, including BigQuery, MySQL, Snowflake and Athena. It helps you to test data instead of code. Let...

What is Great Expectations
Great Expectations is a great tool to validate the quality of your data and can be configured against a number of data sources, including BigQuery, MySQL, Snowflake and Athena. It helps you to test data instead of code. Let’s start with a short example:
Say you have a pipeline that enriches and normalizes client data. The initial data looks like this:
| client_id | address                 | country |
|-----------|-------------------------|---------|
| ab1234    | Somestreet 1            | UK      |
| bc1973    | Anotherstreet 2, 1111AA | NL      |
And after applying some transformations, the resulting data looks like this:
| client_id | street          | zip code | country        | longitude | latitude  |
|-----------|-----------------|----------|----------------|-----------|-----------|
| ab1234    | Somestreet 1    | 2222 BB  | United Kingdom | 0.127758  | 51.507351 |
| bc1973    | Anotherstreet 2 | 1111 AA  | Netherlands    | 4.895168  | 52.370216 |
Based on this enriched data, we can come up with some expectations:
Is the number of columns in the resulting table equal to 6?
Is the client_id column free of null values?
Do the longitude and latitude columns conform to the regex ^(-?\d+(\.\d+)?)$?
etc.
In Great Expectations, such expectations can be a part of an expectation suite and will be executed against your data. Great Expectations will generate a report that shows which expectations have succeeded and which expectations have failed with an explanation on why they have failed and a sample of non-conforming records.
Custom wrapper
To get the most out of Great Expectations, we wanted it to be part of our data pipelines. Whenever a pipeline finishes with all of its transformations, we want to run expectation suites related to that pipeline. It turns out that we needed a way to run Great Expectations with a configurable data source and expectation suite(s). For this purpose, we came up with a wrapper that allows us to do exactly this.
In this article, we will explain how to create such a wrapper so that Great Expectations can be run on an EMR cluster as part of your pipeline.
The goal is that we can run our Great Expectations suites with the following command:
generate_dashboard --pipeline PIPELINE_NAME
The full code can be viewed here.
Storing expectation suites
For our use case, we only want to load the expectation suites that are related to the provided pipeline. To easily do this, we are going to store the suites in a structured way by creating a directory per pipeline.
.
|-- cli.py
|-- great_expectations
|   |-- expectations
|   |   |-- expectation_definitions_1.json
|   |   |-- expectation_definitions_2.json
|   |   |-- expectation_definitions_3.json
|-- suites
|   |-- pipeline_a
|   |   |-- pipeline_a_suites.yml
|   |-- pipeline_b
|   |   |-- pipeline_b_suites.yml
The json files are the files that are generated by Great Expectations after you save the Jupyter notebooks in which you define the expectations for your data source. The yml files hold the configuration about the data on which the expectations need to be run. They look like this:
# pipeline_a_suites.yml
- suite_name: expectation_definitions_1.json
    database_name: some_database
    table_name: some_table_1
- suite_name: expectation_definitions_2.json
    database_name: some_database
    table_name: some_table_2
Creating the wrapper
The wrapper will be responsible for the following:
loading the expectation suites
loading the data
creating the DataContext
creating the entry point
creating the command
packaging and installing the wrapper
In the following subsections we will dive into each of these points. This will get a bit technical, but at the end we should have everything that we need in order to run Great Expectations on EMR, so bear with me.
Loading the expectation suites
Instead of running all expectation suites, we only want to load the suites that are related to the pipeline that we pass as an argument. Because of the structure that we looked at earlier, we should be able to load all suites that are stored under a given directory that corresponds with the name of one of our pipelines.
SuiteInfo = namedtuple(
    "SuiteInfo",
    ["suite_name", "database_name", "table_name"],
)

def get_suites(pipeline: str) -> List[SuiteInfo]:
    """Retrieve all the suites that are related to the provided pipeline

    :param pipeline: the pipeline to retrieve the suites for
    :return: A list of SuiteInfo tuples
    """
    suite_location = get_relative_path(
        f"suites/{pipeline}/{pipeline}_suites.yml"
    )
    with open(suite_location) as cp:
        suites = yaml.load(cp, Loader=yaml.FullLoader)

    suites = [SuiteInfo(**args) for args in suites]

    return suites
Loading the data
In order to run the validations, Great Expectations requires a batch of data. Such a batch can be created using the get_batch method on a DataContext. All we need to know for now, is that we require a DataFrame that contains the data on which we want to run the validations. Since we have specified the database name and table name in the suites’ configuration files, we can just load the suites, and extract the values from it in order to create a DataFrame.
The below code sample is a very simplistic version to illustrate that this is the only required code to load in the data from a Spark table. In the next section we will expand this so we can generate a proper DataContext.
suites = get_suites("pipeline_a")
spark_session = SparkSession.builder.appName("great_expectations_wrapper").getOrCreate()

for suite in suites:
    df = spark_session.table(f"{suite.database_name}.{suite.table_name}")
Creating the DataContext
It’s time to finally create the DataContext which will provide us with the run_validation_operator and build_data_docs commands. Check out the documentation for more information on the DataContext.
Let’s start expanding on what we created in the previous section. We want to generate a dashboard for each of our suites. In order to do this, we will call a method named generate_dashboard.
APP_NAME = "great_expectations_wrapper"
suites = get_suites("pipeline_a")
spark_session = SparkSession.builder.appName(APP_NAME).getOrCreate()

def get_relative_path(path: str) -> str:
    project_path = os.path.dirname(__file__)
    return os.path.join(project_path, path)

context_root_dir = get_relative_path("great_expectations")

for suite in suites:
    generate_dashboard(
            suite.suite_name,
            suite.database_name,
            suite.table_name,
            app_name=APP_NAME,
            context_root_dir=context_root_dir
        )
Now let’s define the generate_dashboard method. It will be responsible for:
creating the DataContext
running the validations
building the data docs (this is what holds the results of running the validations).
def generate_dashboard(
        suite_name: str,
        database_name: str,
        table_name: str,
        app_name: str,
        spark_session: SparkSession = None,
        context_root_dir: str = "great_expectations"
) -> bool:

    # Create a DataContext for the provided suite
    context = DataContext(context_root_dir)
    suite = context.get_expectation_suite(suite_name)

    # Load in data as we have seen in the previous section
    df = spark_session.table(f"{database_name}.{table_name}")

    batch_kwargs = {"dataset": df, "datasource": "spark_datasource"}

    checkpoint = LegacyCheckpoint(
        name=suite_name,
        data_context=context,
        batches=[
            {
                "batch_kwargs": batch_kwargs,
                "expectation_suite_name": [suite_name]
            }
        ]
    )

    # Run the checkpoint
    results = checkpoint.run()

    context.build_data_docs()

    if not results["success"]:
        print("No results")
        return False
    print("Data docs have been built")
    return True
Checkpoints are a replacement of the validation operator. In the way that we use Great Expectations in this guide, we can’t make use of the full power that checkpoints bring to the table because we make use of in-memory DataFrames.
Your use-case might differ, so this feels like a good opportunity to bring your attention to them. Checkpoints allow you to configure what validations and actions (like updating data docs or sending a Slack notification) need to be run. This is particularly useful when you want to validate a group of batches that are logically related.
Checkpoints can also be saved to the DataContext:
checkpoint_json = checkpoint.config.to_json_dict()
context.add_checkpoint(**checkpoint_json)
Doing this allows you to easily run a preconfigured checkpoint:
great_expectations checkpoint run CHECKPOINT_NAME
For more in depth information about checkpoints, please check out the documentation, or follow the great Getting Started tutorial.
Creating the entry point
In the previous section, we have defined a method that will be able to run our expectation suites. Now we need an entry point for our application that can handle all of the required arguments, which in this case is just the --pipeline argument.
We will make use of Typer to help us build our CLI.
app = typer.Typer()
DEFAULT_SPARK_HOME = "/usr/lib/spark"
DEFAULT_CONTEXT_ROOT = get_relative_path("great_expectations")
APP_NAME = "great_expectations_wrapper"

@app.command(APP_NAME)
def run(
    pipeline: str = "",
    context_root_dir: str = DEFAULT_CONTEXT_ROOT,
    s3_bucket: str = None
):
    # Set the SPARK_HOME env var. This is necessary in EMR 6 since it's not set by default
    current = os.environ.get("SPARK_HOME")
    if not current:
        os.environ["SPARK_HOME"] = DEFAULT_SPARK_HOME

    # You probably want to check if the pipeline is passed / exists
    suites = get_suites(pipeline)

    keep_s3_history = False
    s3_prefix = "data_doc/"
    update_ge_config(context_root_dir, s3_bucket, keep_s3_history, s3_prefix)

    # This part is coming from the previous section
    for suite in suites:
        result = generate_dashboard(
            suite.suite_name,
            suite.database_name,
            suite.table_name,
            app_name=APP_NAME,
            context_root_dir=context_root_dir
        )

        print("Success!") if result else print("Failed!")

def main():
    app()
There is one really important part here: setting the SPARK_HOME correctly. On EMR 6, this is not set by default. When the SPARK_HOME environment variable is not set, the application will fail because it’s not able to locate the spark-submit command.
Creating the command to run the application
And lastly, we need a way to define our generate_dashboard command. We do this with Poetry (which we also use for dependency management). In pyproject.toml, we define a new command under tool.poetry.scripts:
[tool.poetry.scripts]
generate_dashboard = "great_expectations_wrapper.cli:main"
The command points to the main function that we defined in the previous section.
Package and install
Our wrapper is ready, now it’s time to handle the packaging and installation part. Packaging the wrapper is very easy with Poetry. All we have to do is run the following command.
poetry build
A .whl and .tar.gz file are generated into the dist directory of your project.
In order to install wheel files, we first need to make sure that our EMR cluster has the wheel package installed. You can do this by SSH’ing into the EMR cluster. Once in the cluster, run the following commands.
python3 -m pip install --user --upgrade setuptools
python3 -m pip install --user wheel --user
In practice, you’d most likely create a bootstrap action or even a custom AMI for such configurations.
Now that the dependencies are in place, we can install our package, copy the .whl file to your EMR instance and run
python3 -m pip install --user PACKAGE_NAME-VERSION-py3-any.whl.
That’s it. You should now have access to the generate_dashboard command. We can now run the expectations for pipeline A by running the command
generate_dashboard --pipeline pipeline_a
I commend you for making it to the end of this article. I hope that this guide has been helpful in getting to run Great Expectations as part of your EMR pipelines.